
Hello all and welcome back to my blog. So as i recently learnt how to do nails and i have already published one blog on basics i would continue with part two today. So before starting I would clear that there are various types of nail extension done. So the name in the tittle is one of them so don't be confused.
All we need for this nail extension is as follows:
Now i hope you remember what the above instruments are used for as my first blog mentioned all of it. Before starting I would give a recap of the last blog and the initial common procedure for applying half tip extensions.
So my last blog told about basic application pf gel polish but the initial process was common so lets recap it.
Start with pushing your skin towards the inner direction with the pusher. Then if you see any dead skin that is mostly popped up and white in colour take it out by using a cuticle cutter. Cut it gently without hurting yourself.
Now you are all ready to file your nails make sure you cut the extra skin left on the side and start filling. Be careful don't file too hard untill you damage your natural nail.
Next step is to apply primer.
So hear is how you do the basics.
These are the basix steps to be followed and started with in any form of nail art
Now after this take a half tip measure it in your or the person' s nail who's nail art you are doing..
Next is to file the edges of the nail tip selected.
After filing apply glue and place the tips curvy end on your natural nails end tip. Make sure you don't apply it too inside or too outside.
And then file it even. And buffer it after that.
After this step comes the most important that is building a nail with a pink powder and monomer. Place the brush in monomer (liquid just like acetone) and then rinse it and just pick the powder particles with the same brush. It will result in the form of a small water ball like structure. Place it on the nail and dapp on it eventually dragging it down towards the nail tip.
Make sure you deposit evenly and build an arc like structure.
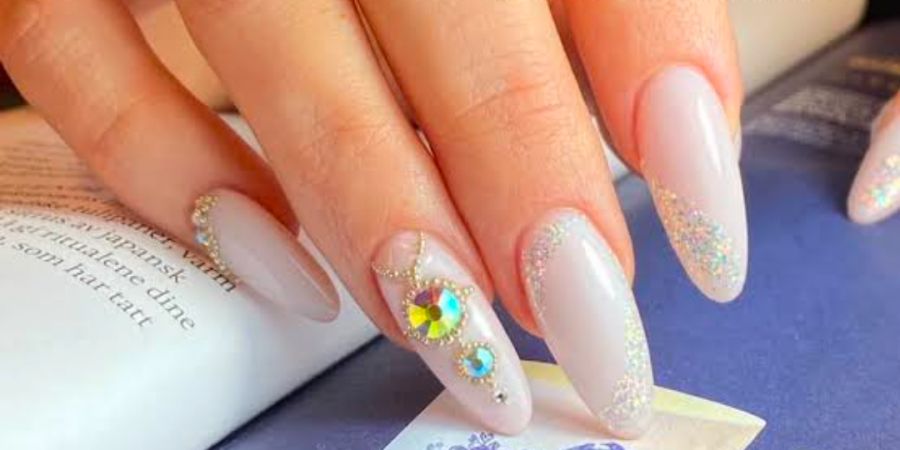
And that's it this is how you build an acrylic nail.
Later you can fo different forms of nail art on this nail. For example ( monochrome, 3D, sugar effect, ombre effect, colour ombre effect, etc)
Thank you for your time guys.
Will be back with next part soon.


