
Hello and welcome back to everyone who has been reading my blogs. I hope you all are doing good and safe at your places. So firstly thank you so much for showing ao much support and love on my previous part 2 blog of nailart. So i decided to share another nailart blog with you guys. So recently i have been learning and enjoying this nailart sessions. So i thought of sharing it with you guys if some of you are fond of doing your nails then this blog might be a helpful to you. So let's get started with it.
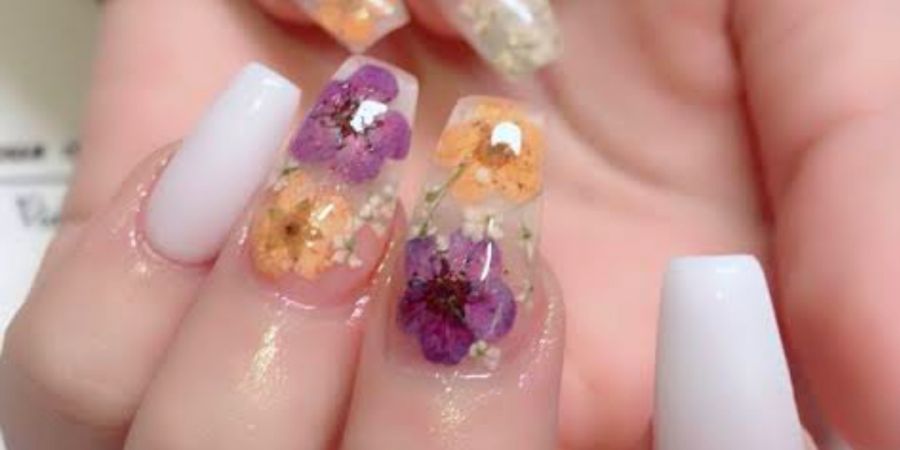
So explaining what is an inbuilt nail. You have ever come across a video on YouTube or Instagram where they show nailart done with any small material and convert them into nails. Or they put that on a nail and then apply a transparent nail polish on it.
For example:

This is how it looks when you do an inbuilt nail.
So I am sharing you the technique on how to do the same. Starting with the procedure we will liat down the materials needed.
Now as you know the process from my last two blog you can find the entire procedure of how to apply a half tip and build a nail. Also all the tools and its use it explained. So without wasting time i would expect you all know how to build A half tip nail by now and jumping to the next step.
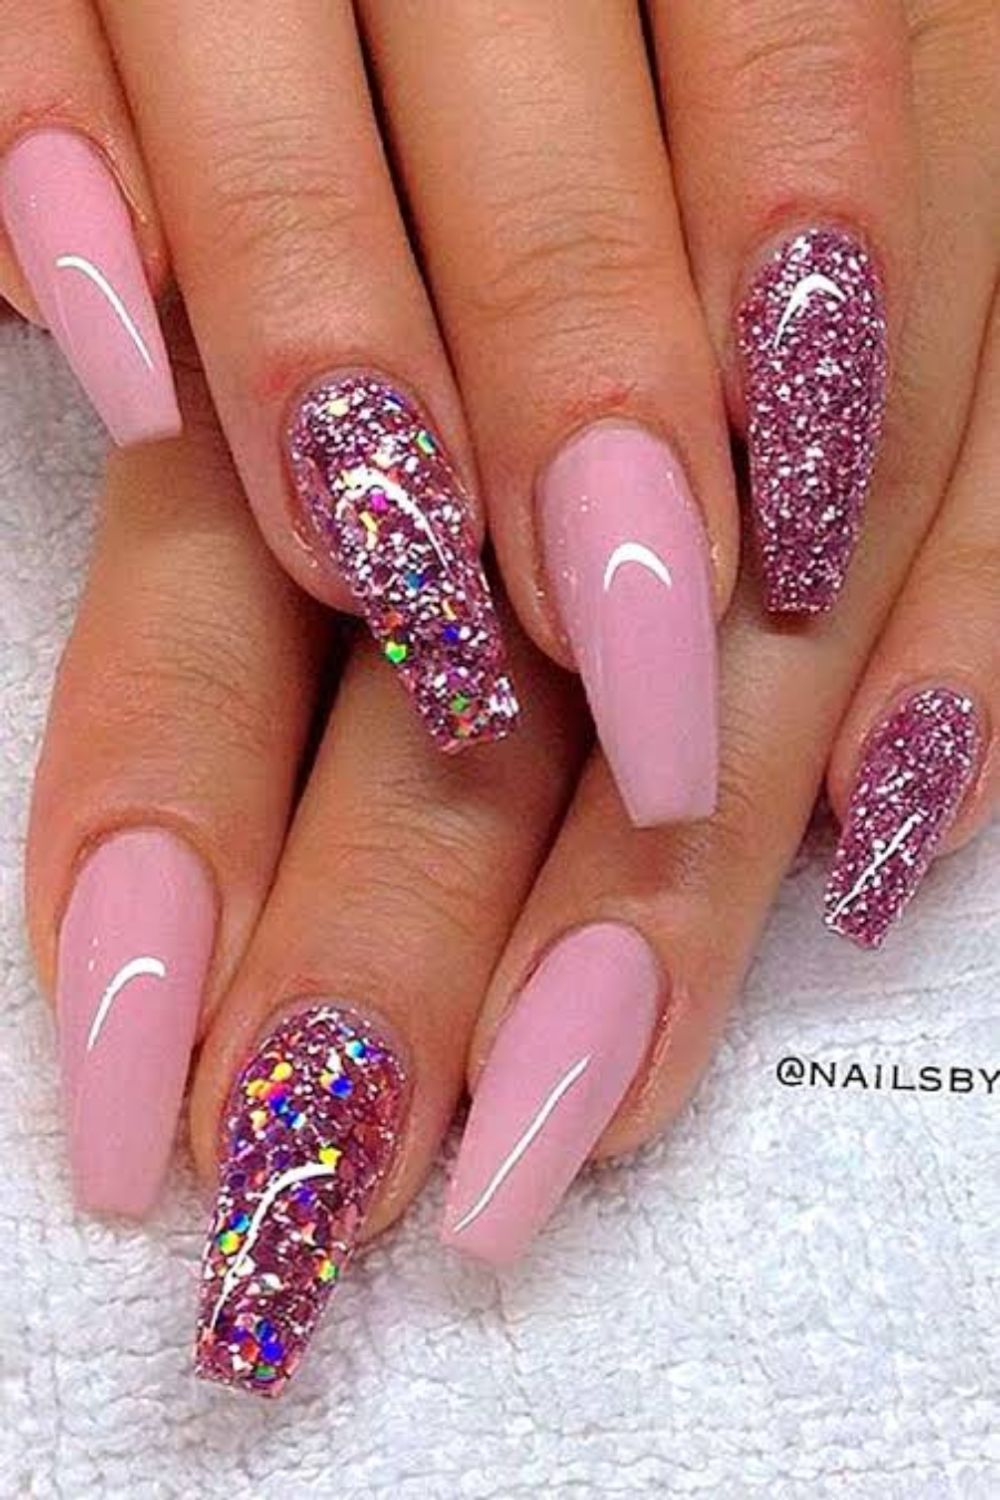
So after you have applied the half tip take pink powder and glitter by your side. Be ready as you have to do this process quite fast.
Take the brush dio it to nto tye momer and pick a bead of oink powder annd deposit on the nails end tip. Quickly spread it even and take the glitter whichever bigger or smaller you want and dap on it then tke the remaining glitter and create any effect of small to big glitter or vice versa.
Note this procedure has to be done very quickly as the oink deposit will work as a glue to glitter and fry off soon if not applied the glitter quickly.
Next is take the pink bead a slight bigger one and now cover the entire nail. Just as how we build a nail. Later file it and buffer it and apply top coat.
That's it you are done.
Thank you


